How to Install a Carbon Fiber Steering Wheel — Complete Step-by-Step Guide
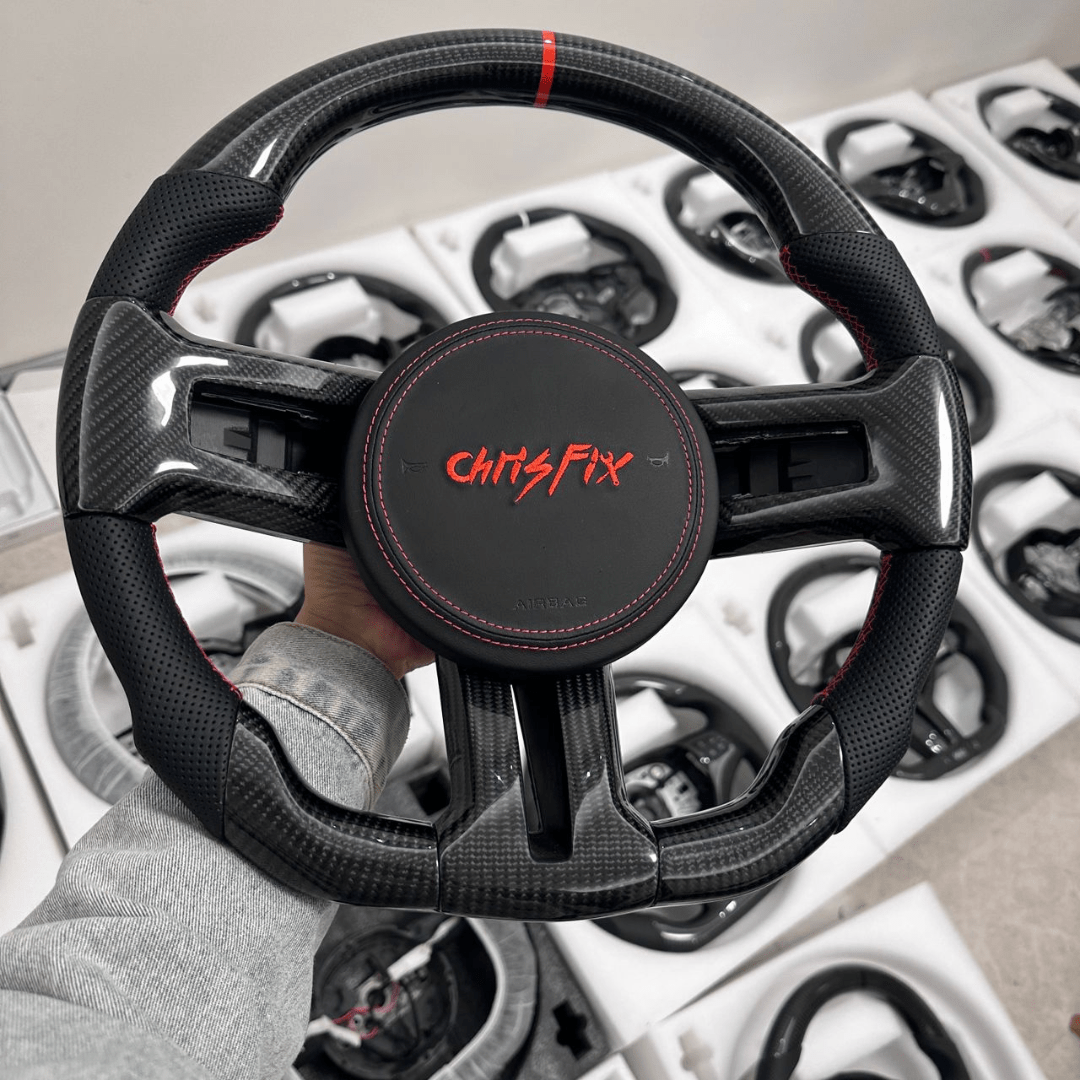
Upgrade your steering wheel — custom carbon fiber made for your exact car model.
Shop Now →Overview: What This Guide Covers
Swapping an aftermarket steering wheel is one of the most rewarding interior modifications you can make — and one of the most misunderstood. Done correctly, it takes under an hour, keeps your airbag fully functional, and produces a result that changes how the car feels every single drive. Done incorrectly, it can leave an airbag warning light, a loose wheel, or — in the worst case — an airbag that doesn't deploy when needed.
This guide covers everything: tools, safety protocol, the airbag system, how to transfer it correctly, and what to do if something doesn't go perfectly. We've installed hundreds of wheels on dozens of platforms. This is what actually matters.
Before You Start: Is This the Right Wheel for Your Car?
Confirm fitment before you touch a tool. Steering wheel fitment is platform-specific — the airbag connector type, the clock spring (spiral cable) interface, and the center bolt specification vary by manufacturer and generation. A wheel that fits a BMW F80 M3 will not fit a BMW G80 M3, even though they're both "M3." Verify:
- Your car's make, model, generation/chassis code, and year
- Whether your car has a heated steering wheel (this function cannot be transferred to an aftermarket wheel)
- Whether your car has wheel-mounted paddle shifters vs. column-mounted paddles (column-mounted paddles are unaffected by a wheel swap; wheel-mounted paddles require a compatible aftermarket wheel)
- Whether your car has multifunction buttons for audio, phone, or driver assistance (these require either a blank wheel or a wheel pre-drilled for compatible button housing)
If you're ordering from us, we confirm fitment before your order ships. If you're unsure, contact us — we'd rather verify up front than have you return a wheel.
Tools You'll Need
The specific sizes vary by platform, but these are the tools required for the vast majority of performance car steering wheel swaps:
- Torx screwdriver or bit set — T27 for most European cars (BMW, Mercedes, Porsche, Audi, VW), T30 for many American cars (Dodge, Ford, Chevrolet)
- Socket wrench and sockets — 17mm for most European platforms; 19mm or 22mm for American platforms. Always use a torque wrench for reinstallation
- Steering wheel puller — optional but useful if the wheel is stuck on the splines. Do not hammer or pry; use a puller
- OBD-II scanner — required to clear any airbag fault codes after reinstallation. Platform-specific scanners (BIMMERCODE for BMW, Carly, generic OBD-II) work on most cars. Invest in one before starting this job
- Marker or masking tape — for marking the wheel-to-shaft alignment before removal
Safety First: The Airbag System
The steering wheel airbag is a pyrotechnic device. It deploys with enough force to cause serious injury if it fires unexpectedly. The safety protocol is straightforward and must not be skipped:
- Disconnect the negative battery terminal — this cuts power to the airbag control system
- Wait a minimum of 15 minutes — most airbag systems have a backup capacitor that retains enough charge to fire the airbag for a period after the battery is disconnected. 15 minutes is the standard minimum; some European platforms (Alfa Romeo, certain Porsche models) recommend 20 minutes. When in doubt, wait longer
- Never probe the yellow airbag connector — the yellow connector on the back of the wheel is the airbag trigger connector. Never use a multimeter or any powered tool near it when it's disconnected
- Work with the airbag facing away from you when disconnected — once the airbag is removed from the wheel, place it face-up on a flat surface. Do not place it face-down. If it were to deploy (it won't, if you followed steps 1 and 2), the deployment force goes upward and away from you
Step-by-Step Installation Process
Step 1: Disconnect the Battery
Locate the negative terminal on your battery and disconnect it. Set a timer for 15–20 minutes and don't rush this step.
Step 2: Access the Airbag Mounting Clips
Turn the wheel to expose the access ports on the back of the wheel. Most performance car wheels have two access holes — one on each side of the back plate — through which you insert the Torx bit to release the spring clips holding the airbag in place. Insert the Torx driver, push inward (not turning), and you'll feel the clip release. Do both sides. The airbag will tilt forward slightly when both clips are released.
Some older platforms use different airbag mounting systems — bolts instead of clips. Check your car's service manual if you're unsure.
Step 3: Disconnect the Airbag
Tilt the airbag toward you carefully. You'll see one or two connectors — typically a yellow connector (airbag trigger) and one or more black connectors (horn, controls). Disconnect them all. The yellow airbag connector usually has a safety lock — look for a yellow or orange plastic tab that must be flipped before the connector releases. Don't force it.
Step 4: Mark Your Alignment
Before removing the center bolt, use a marker or a piece of tape to mark the relationship between the wheel and the steering shaft. You need to reinstall the wheel in the same position — the wheel centered with the front wheels pointing straight ahead. Get in the habit of doing this even if it seems obvious.
Step 5: Remove the Center Bolt
The center bolt is typically under a cover that came off with the airbag. Use the appropriate socket and a breaker bar — these bolts are torqued tight from the factory, typically 30–50 Nm depending on platform. Break it loose, then remove by hand. Keep the bolt — you'll reuse it or use a new bolt at the same spec.
Step 6: Remove the Factory Wheel
Pull the wheel straight back off the splined shaft. It may be tight — rock it gently left and right while pulling. If it won't budge, use a steering wheel puller. Do not hammer on the shaft end; you'll damage the threads. Once removed, set the wheel aside.
Step 7: Transfer the Airbag to the New Wheel
Your new carbon fiber wheel will have the same airbag mounting hole pattern as the factory wheel. Transfer the airbag module to the new wheel using the factory mounting hardware. If your new wheel came with airbag mounting bolts, use those; otherwise reuse the factory hardware. Do not overtighten — these are typically snug finger-tight plus a quarter turn.
Step 8: Route the Connectors
Thread the airbag connector and other connectors through the back of the new wheel's center section. This varies by wheel design — some have a clean channel for routing, others require careful positioning. Make sure no connector is pinched between the wheel and the column when you slide the wheel onto the shaft.
Step 9: Install the New Wheel
Slide the new wheel onto the splined shaft, aligning with your marks from Step 4. Thread the center bolt by hand first, then torque it to the factory specification for your platform. Common specs: BMW and Porsche — 32–50 Nm; Dodge/Chevrolet — 40–55 Nm (roughly 30–40 ft-lb). Using a torque wrench here is important — undertightening risks the wheel coming loose; overtightening can damage the shaft threads.
Step 10: Reconnect the Airbag and Horn
Reconnect the yellow airbag connector first — push it in until it clicks, then lock the yellow safety tab. Reconnect any remaining connectors (horn, controls). Press the airbag back into its mounting position until both clips click.
Step 11: Reconnect the Battery and Test
Reconnect the negative battery terminal. Turn the ignition on (don't start the engine yet) and check the instrument cluster for any warning lights. If an airbag warning light appears, use your OBD-II scanner to read the fault code and clear it. A single fault code after a wheel swap is normal and clears without issue on most platforms. If the light returns after clearing, check that the airbag connector is fully seated and the safety lock is engaged.
Test the horn. Confirm that any multifunction controls (if applicable) work correctly. Take the car for a short drive and confirm normal steering feel.
Troubleshooting Common Issues
Airbag warning light after installation
The most common cause is an airbag connector that isn't fully seated or whose safety lock isn't engaged. Disconnect the battery again, wait 15 minutes, reseat the connector carefully, and reconnect. If the light persists after the connector check, read the fault code with a scanner — it will tell you exactly which circuit has the issue.
Horn doesn't work
The horn contact ring on the steering column is a brass or copper contact that touches a contact on the back of the wheel. If the horn doesn't work, check that the contact ring is present and positioned correctly on your column, and that the horn connector on your new wheel is seated. On some platforms, the horn contact needs to be transferred from the factory wheel — check if your new wheel came with this component or if it needs to be moved.
Wheel feels loose
The center bolt is undertightened or wasn't torqued to spec. Remove the airbag again, retorque the center bolt, and reinstall. Do not drive the car with a loose steering wheel.
Steering wheel not centered
You didn't mark the alignment before removal (or the marks weren't accurate). With the front wheels pointing straight ahead, remove the wheel and reinstall it centered. This is purely a cosmetic/ergonomic issue — it doesn't affect safety — but correct it before regular driving.
Specific Notes by Platform
BMW (F and G series): T27 Torx, 17mm center bolt at 32 Nm. G series (G80 M3, G82 M4, G87 M2) use column-mounted paddles — unaffected by swap. Use a BMW-compatible scanner for code clearing.
Porsche (992, 718): T27 Torx, 22mm center bolt at approximately 50 Nm. PIWIS or compatible scanner for code clearing. GT Sport wheel has simplified connector layout.
Mercedes-AMG (C63, E63, GT): T27 Torx, 17mm center bolt. Some AMG models have multifunction buttons — order a compatible wheel if you need to retain these. Use a Mercedes-compatible scanner.
Dodge (Challenger, Charger): T30 Torx, 19mm center bolt. Hellcat and Scat Pack Widebody models have the SRT wheel — check connector type for your specific year.
Chevrolet (Camaro, Corvette C8): T30 Torx, 19mm center bolt. C8 Corvette has a more complex steering column — contact us for C8-specific installation notes.
Audi (RS3, RS4, RS5, R8): T27 Torx, 17mm center bolt. RS models with multifunction paddles: paddles are typically column-mounted on RS variants — verify your specific model before ordering.
Ready to Order?
If you've read this guide and you're confident in the process, browse our collection by vehicle make. Every wheel we ship is fitment-confirmed and includes installation hardware. If you have questions about a specific platform or want to verify fitment before ordering, contact us directly — we confirm fitment for every order.